Big Bend National Park is one of those places that seems made for night sky photography.
Located in the remote reaches of West Texas, the park protects a vast stretch of the Chihuahuan Desert along the Rio Grande. Its distance from major cities means exceptionally dark skies, expansive horizons and very little artificial light competing with the stars.
I’ve photographed the night sky in a lot of places, but Big Bend continues to stand apart.
When darkness settles over the desert, the landscape changes completely. The heat fades, familiar formations become silhouettes and the sky begins revealing details that simply aren’t visible in most places. On a clear, moonless night, the Milky Way is unmistakable to the naked eye.
Of course, dark skies alone don’t make a compelling photograph.
The real challenge is finding a foreground, anticipating where the Milky Way will appear, working with the available light and combining all of those elements into a photograph that captures what it actually felt like to stand there.
Here’s how I approach it.
Start With the Landscape, Not the Stars
One of the easiest mistakes to make with astrophotography is becoming so focused on the sky that the landscape becomes an afterthought.
I approach an astro-landscape photograph much like I would any other landscape image. I look for a strong foreground, interesting shapes, visual balance and something that gives the viewer a sense of place.
Big Bend provides plenty to work with.
Prickly pear, agave and other desert plants can make excellent foreground subjects. The Chisos Mountains create dramatic silhouettes and the open desert gives you enormous skies without many of the obstructions you encounter elsewhere.
Whenever possible, I scout potential compositions during daylight.
Walking around in complete darkness trying to find a cactus that happens to line up perfectly with the Milky Way is possible. I’ve done it. But finding that composition several hours earlier is considerably easier.
Daylight scouting also gives you time to notice distractions, determine where you’ll place the tripod and think about how the scene will change once the sky becomes dark.
Then I use an app such as PhotoPills to determine where and when the Milky Way will move into position.
That combination of planning and scouting removes a lot of guesswork once darkness arrives.

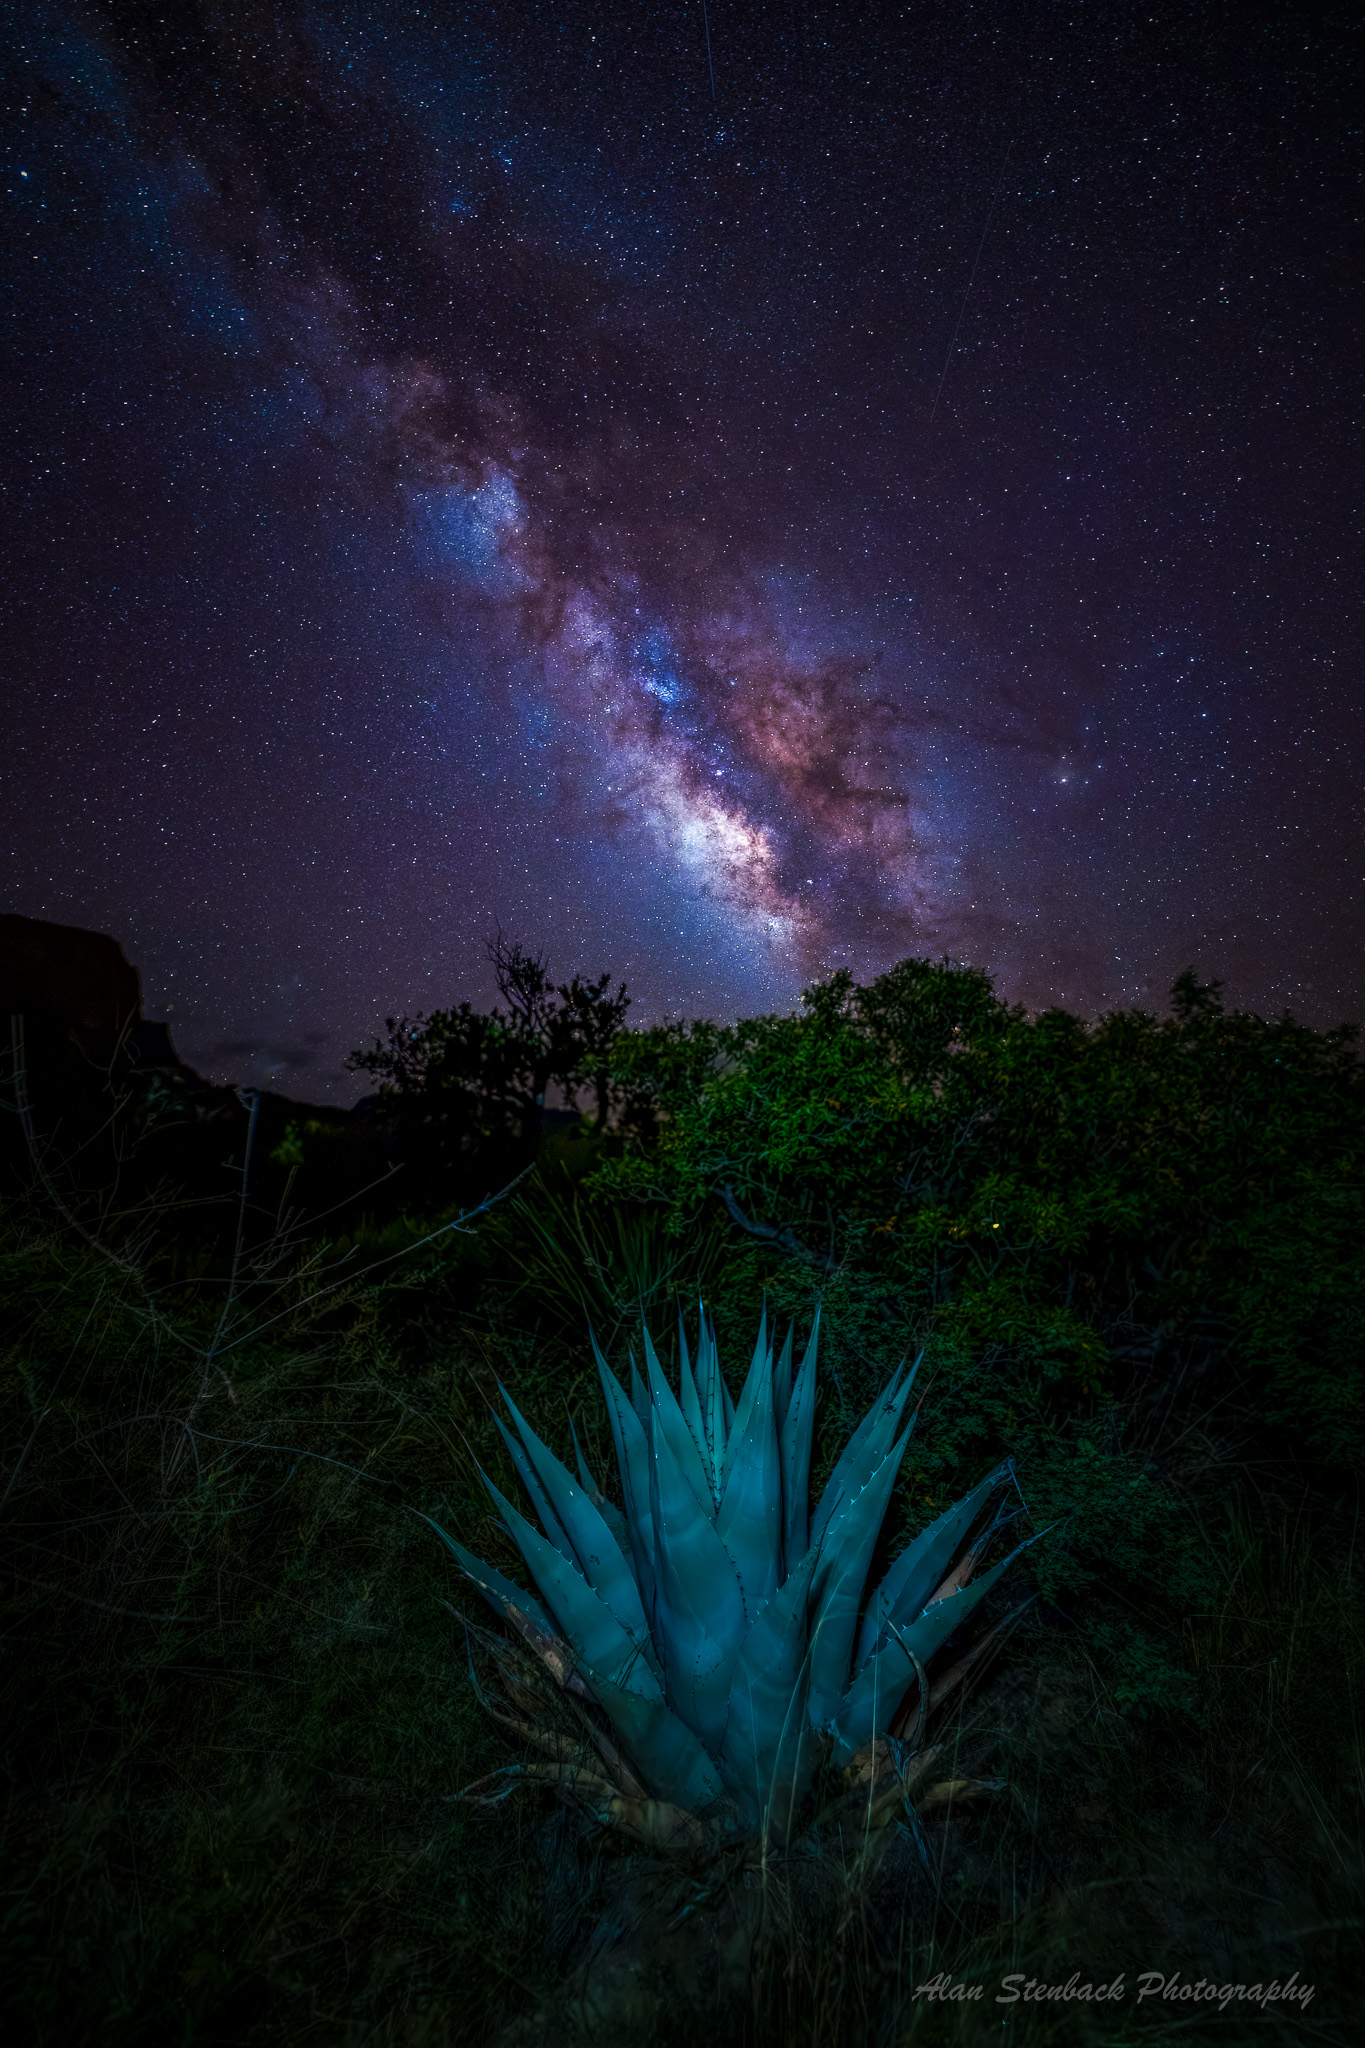
Single Shot. Backlit by Moonlight. Sony A7R IV + 16-35mm GM. 30 sec @ f/2.8, 16mm, ISO 6400 📍Rio Grande Valley
Planning Around the Moon
The moon can completely change an astro-landscape photograph.
If the goal is to capture maximum detail in the Milky Way, I generally want little or no moonlight. That might mean photographing around the new moon or waiting until after moonset.
But moonlight isn’t necessarily bad.
A small amount of moonlight can beautifully illuminate a desert foreground and create a much more natural-looking landscape than artificial lighting. One of the photographs from my original Big Bend trip was made as a single exposure with the landscape illuminated by moonlight.
The key is understanding what the moon will be doing before heading into the field.
I use PhotoPills to check:
- Moon phase
- Moonrise and moonset
- Milky Way position
- Galactic core visibility
- The relationship between the Milky Way and my planned composition
Weather is the other variable, of course, and Big Bend can still make its own plans regardless of what an app says.
Planning doesn’t guarantee a photograph. It simply puts you in the best position to make one when everything comes together.
Choosing Your Camera Settings
There isn’t one perfect set of settings for photographing the Milky Way.
My starting point with a modern full-frame camera is generally somewhere around:
- Aperture: f/1.8–f/2.8
- Shutter: 15–30 seconds
- ISO: 1600–3200
- Focal length: 14–24mm
Those are starting points, not rules.
Your ideal shutter speed depends on focal length, sensor resolution and how much star movement you’re willing to accept. On today’s high-resolution cameras, stars can begin showing movement sooner than you might expect when examining the image closely.
Rather than automatically using the longest exposure possible, I prefer to keep the stars reasonably tight and compensate with aperture, ISO or multiple exposures when necessary.
High ISO isn’t something to fear either.
Modern cameras and noise-reduction tools are remarkably capable. I’d rather capture a properly exposed file at a higher ISO than significantly underexpose the image and attempt to recover everything later.

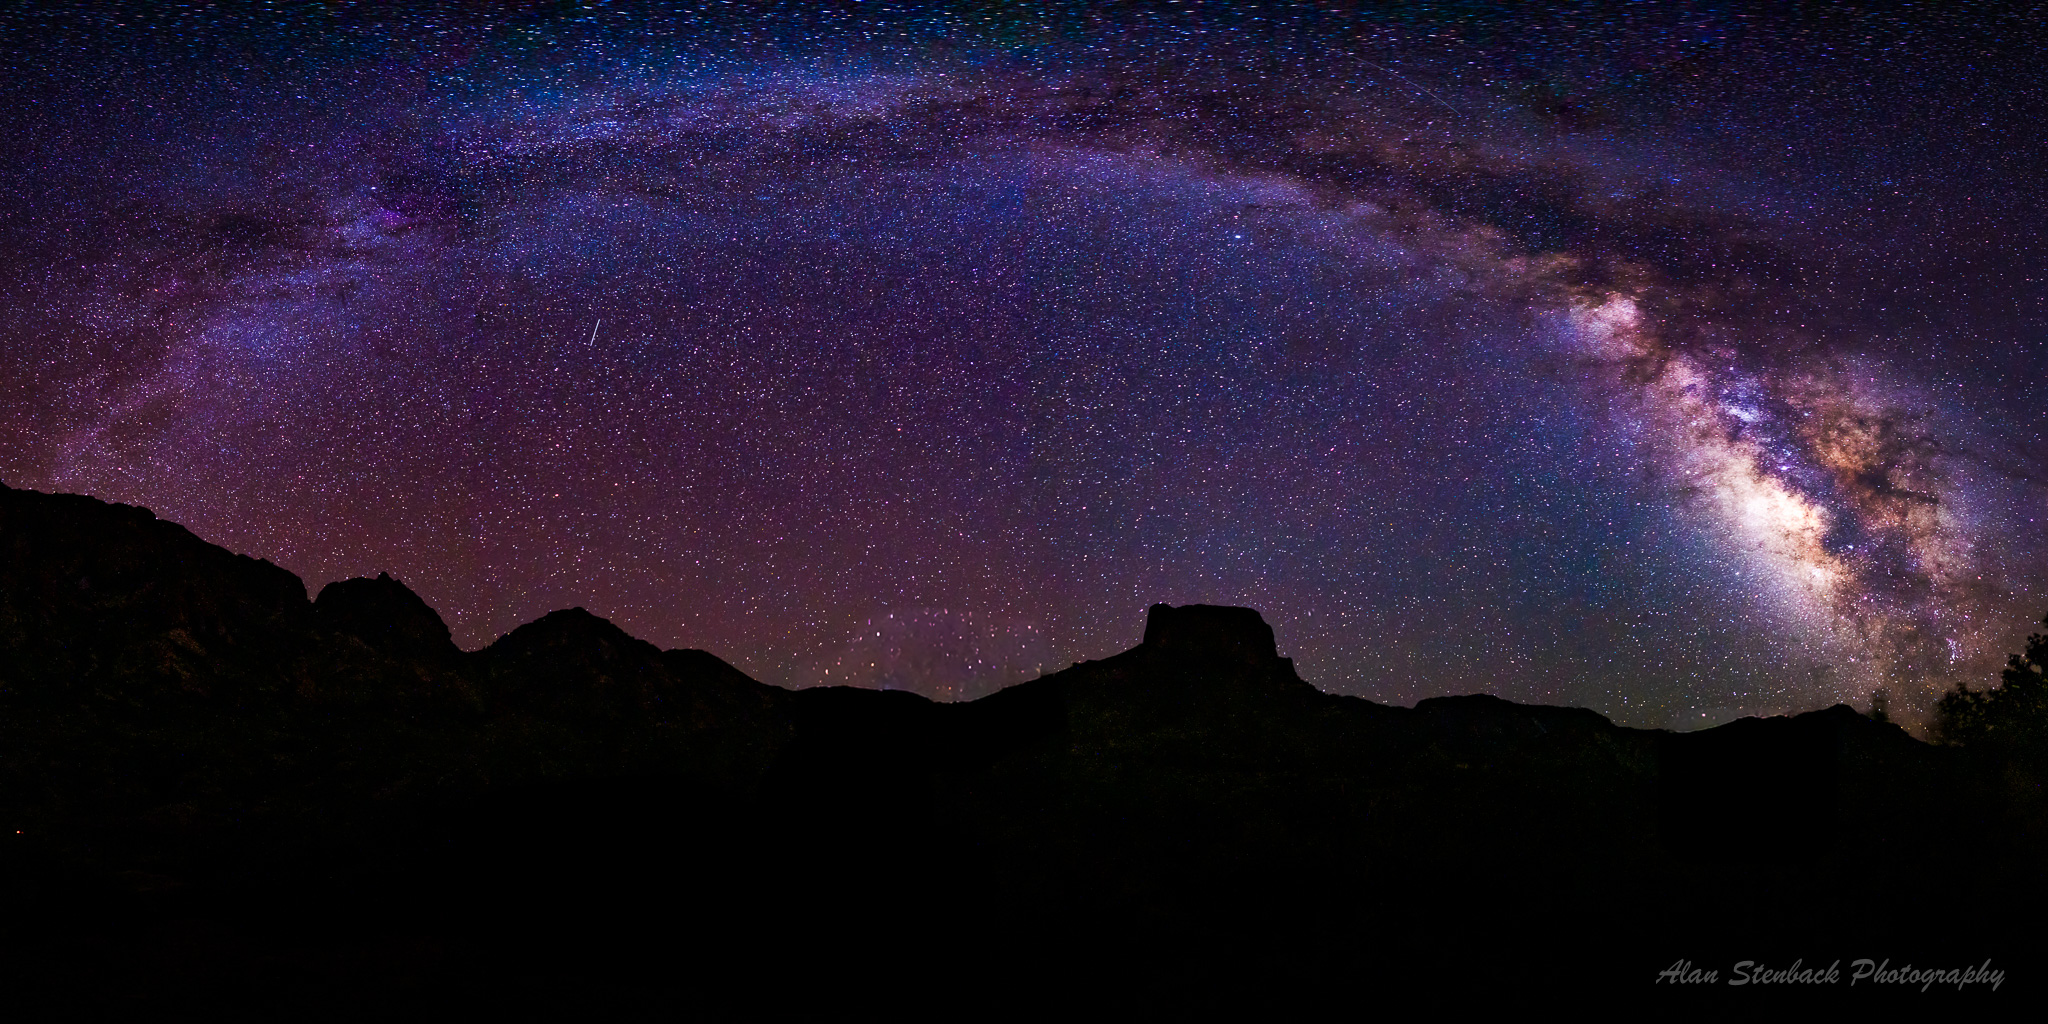
Four Shot Vertical Panorama. Manually Stitched and Cropped in Photoshop. Sony A7R IV + 16-35mm GM. 30 sec @ f/2.8, 16mm, ISO 6400 📍Chisos Mountains
Focusing on the Stars
Autofocus usually isn’t going to help much once you’re pointing your camera into a dark sky.
I switch the lens to manual focus, find a bright star and magnify it on the camera’s LCD or electronic viewfinder.
Then I slowly adjust focus until the star becomes the smallest, sharpest point possible.
Don’t simply turn the lens to infinity and assume it’s correct. The infinity markings on lenses aren’t precise enough for critical astrophotography focus.
Once focus is established, I leave it alone unless I change lenses or something moves the focus ring.
And I check it periodically.
There are few things more frustrating than spending an hour photographing the Milky Way only to discover later that the stars were slightly out of focus.

Building the Photograph With the Foreground
This is where astro-landscape photography becomes particularly interesting.
The stars may be at infinity, but your foreground probably isn’t.
If I’m working with a cactus only a few feet from the camera, I can’t necessarily keep both the foreground and stars critically sharp in a single exposure at f/2.8 or wider.
That’s when I’ll photograph the scene in parts.
I’ll first focus on the foreground and make an exposure specifically for it. Then I’ll refocus on the stars and capture the sky.
Later, those exposures can be blended in Photoshop.
This isn’t about creating something that wasn’t there. It’s a way of overcoming the physical limitations of depth of field and capturing the scene closer to the way I experienced it.

Single Shot. Light Painted Foreground. Sony A7R IV + 16-35mm GM. 30 sec @ f/2.8, 24mm, ISO 6400 📍Rio Grande Village Campground
Adding Light to the Foreground
Sometimes moonlight provides everything you need.
Other times the foreground disappears almost completely into darkness.
That’s when subtle light painting can help.
For some of my original Big Bend photographs, I used a small Lume Cube positioned away from the camera. A headlamp can also work surprisingly well.
The important word here is subtle.
It’s incredibly easy to over-light a foreground beneath a dark sky. If a cactus looks like someone parked a truck in front of it with the headlights on, the lighting is probably overpowering the scene.
I usually start with the lowest amount of light possible.
I’ll make an exposure, check the balance between the foreground and sky and adjust from there. Moving the light farther from the subject, changing its angle or bouncing the light can make an enormous difference.
Often, less light produces the more convincing photograph.

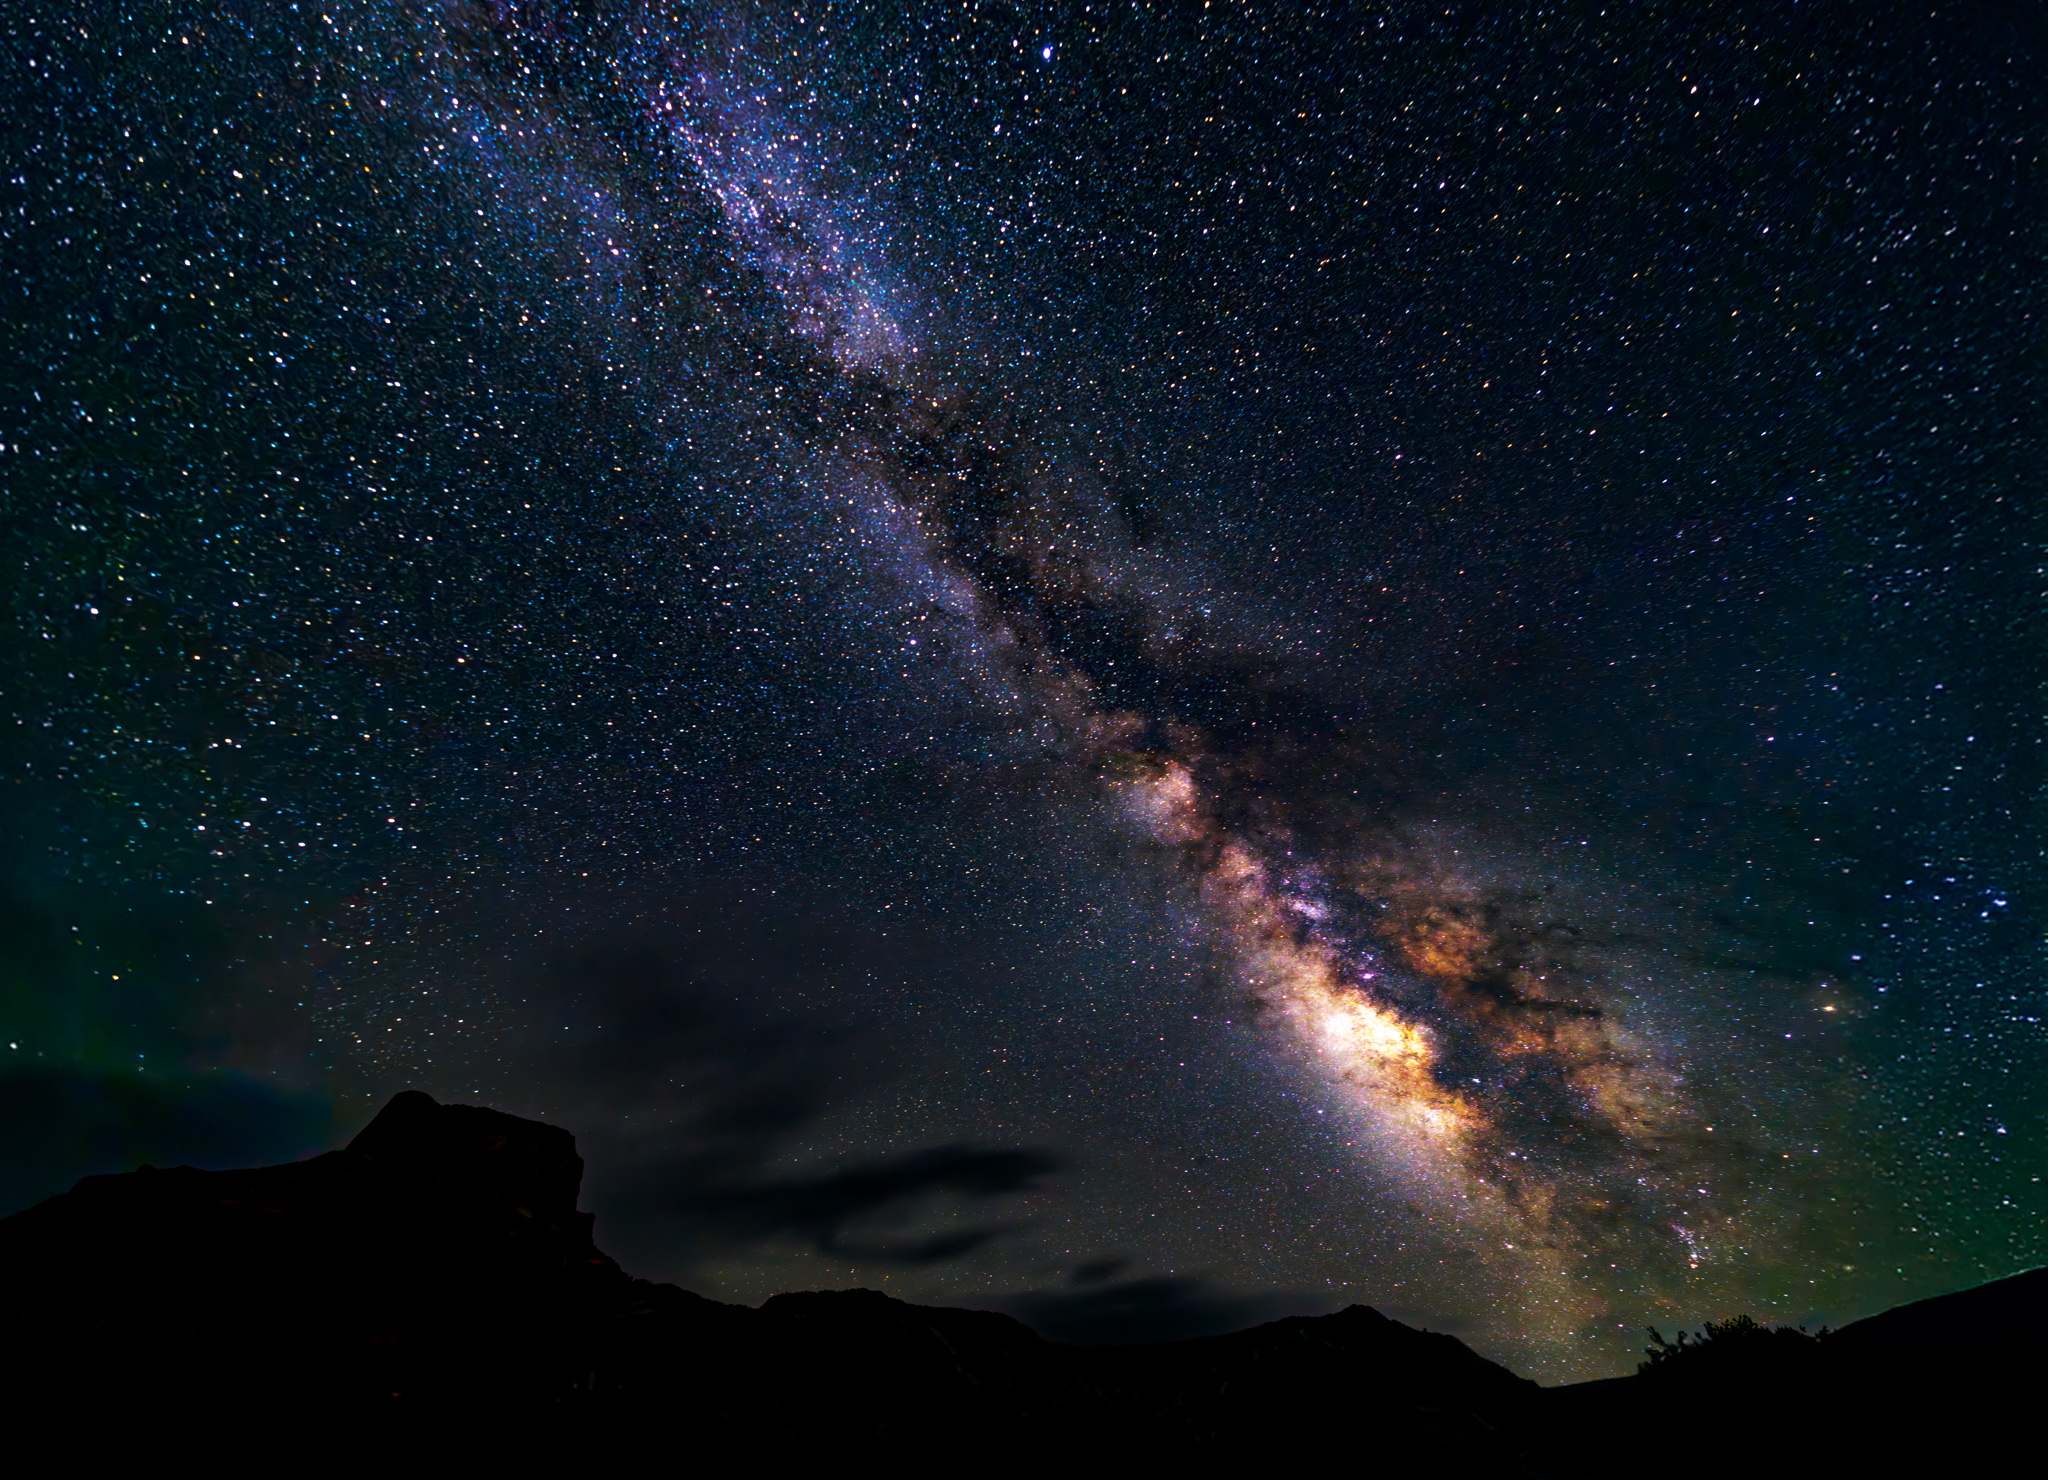
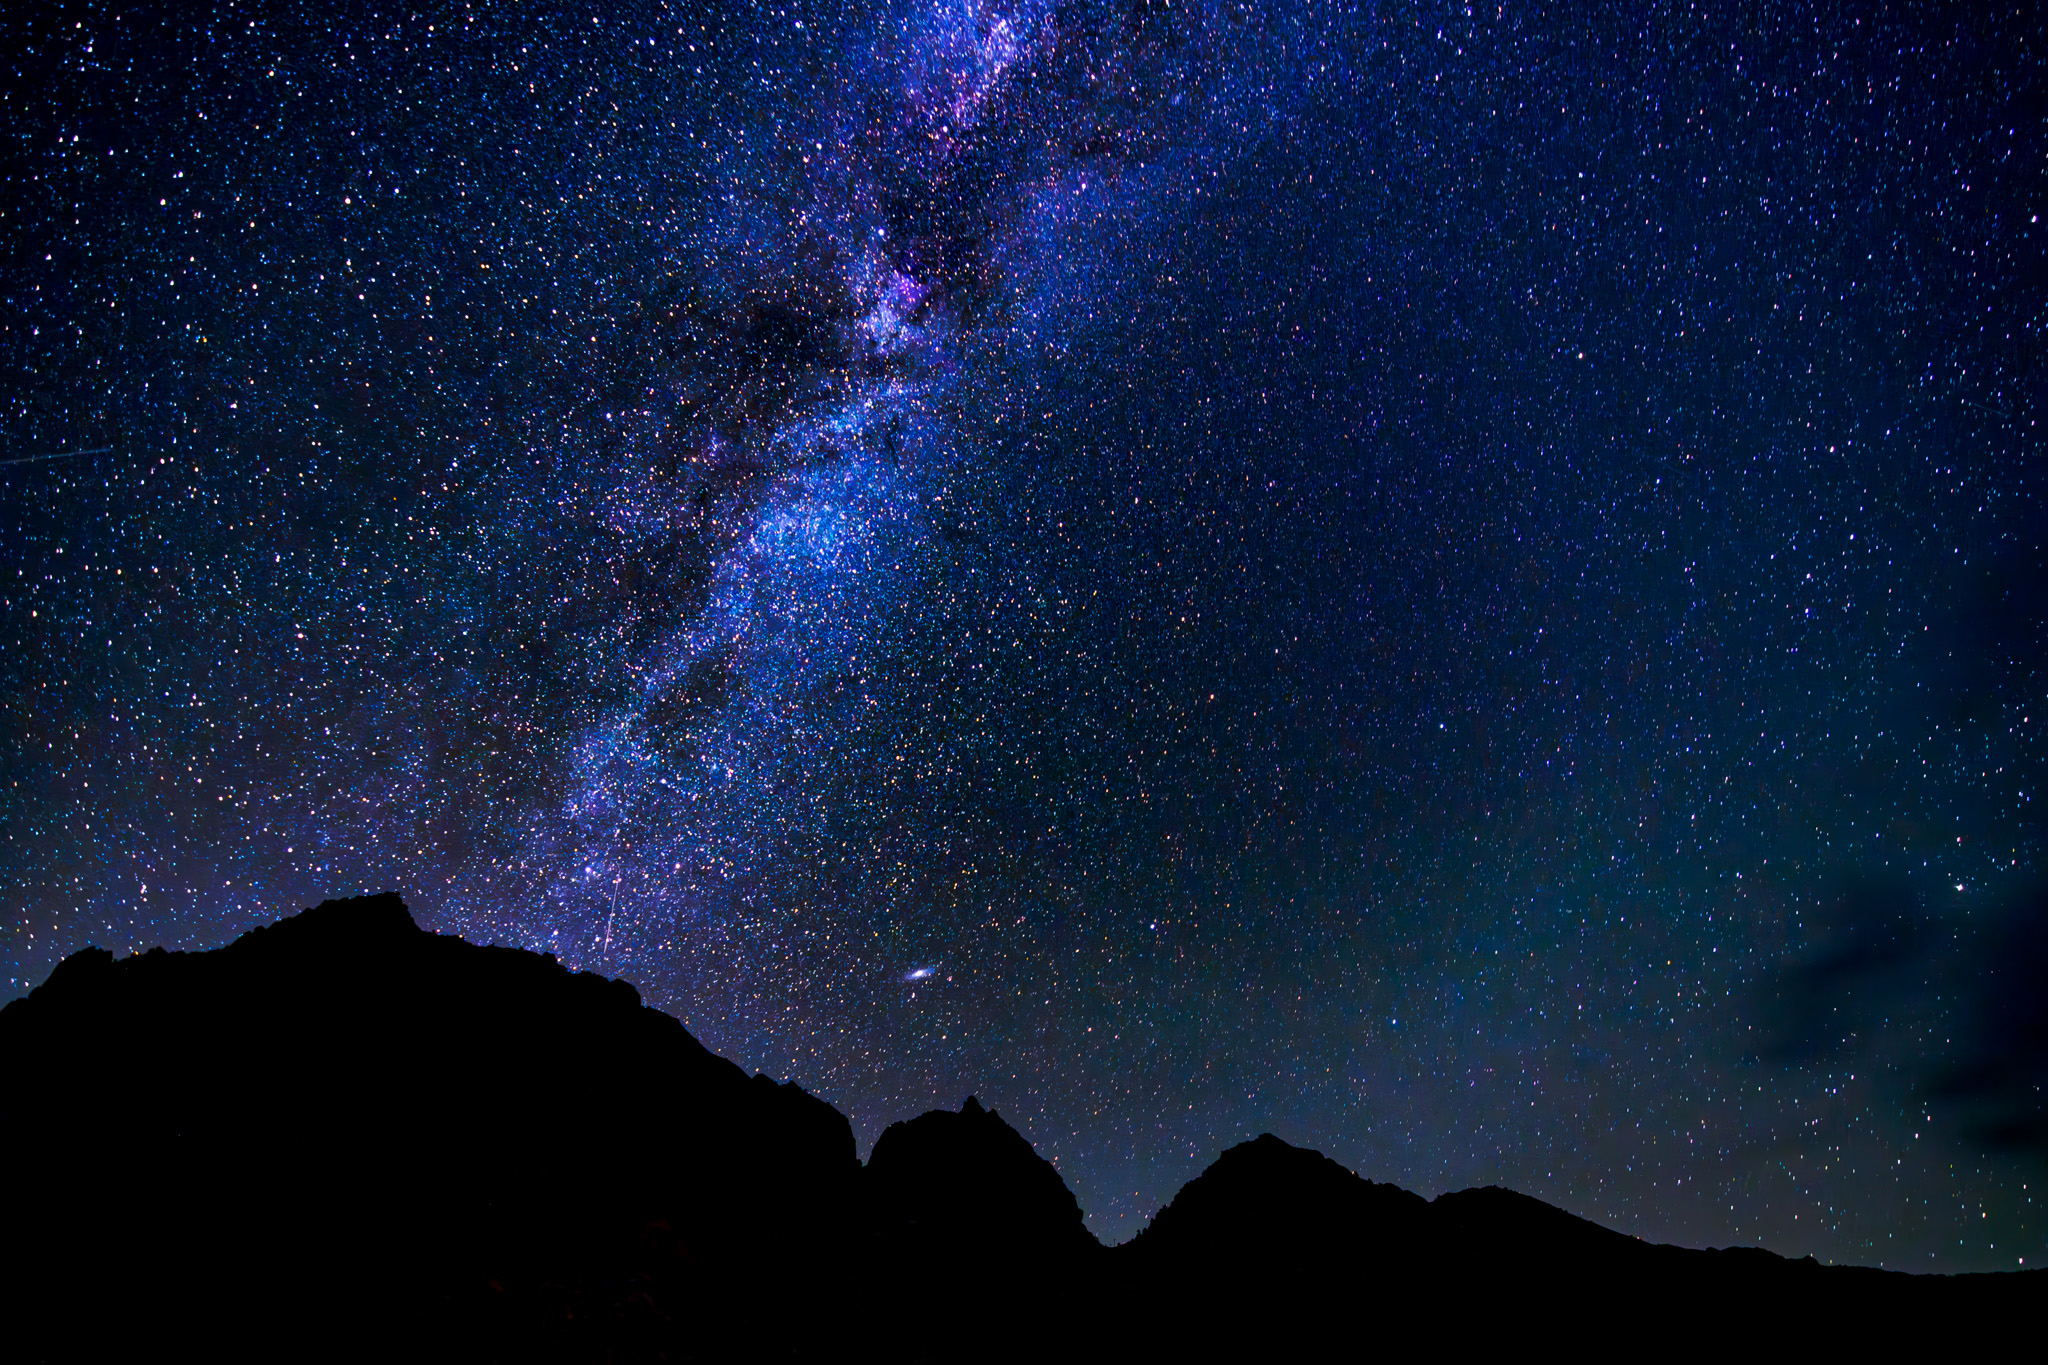
Single Shot. Sony A7R IV + 16-35mm GM. 60 sec @ f/2.8, 16mm, ISO 12800📍Chisos Mountains
Going Beyond a Single Exposure
Not every night sky photograph needs complicated techniques.
Some of my favorite images are still single exposures.
But once you start pushing image quality further, there are several techniques that open up new possibilities.
Focus Stacking
I’ll sometimes photograph the foreground and sky at different focus distances and blend them later.
Image Stacking
Multiple sky exposures can be aligned and stacked to reduce noise while preserving stars as points of light.
Panoramas
A panorama allows you to capture a much larger section of the sky while maintaining substantial resolution.
For one of my Big Bend images, I photographed four vertical frames and manually stitched them together in Photoshop.
Star Tracking
A star tracker allows the camera to follow the movement of the night sky during a longer exposure.
That can produce significantly cleaner sky files with more detail and less noise, although the foreground must usually be photographed separately because the tracker causes the landscape itself to move within the frame.
None of these techniques is automatically better than a single exposure.
They’re simply different tools available depending on the photograph I’m trying to make.
My Essential Astrophotography Gear
You don’t need an enormous amount of specialized equipment to photograph the Milky Way.
A few things do make the process considerably easier.
Camera and Wide-Angle Lens
A modern mirrorless or DSLR camera paired with a fast wide-angle lens is ideal.
I currently work with a Sony A7R V and lenses including the Sony 14mm f/1.8 GM, 16–35mm f/2.8 GM and 20mm f/1.8.
You don’t need those exact lenses. Something in roughly the 14–24mm range with an aperture of f/2.8 or faster gives you an excellent starting point.
Sturdy Tripod
Long exposures make a tripod essential.
Stability matters more to me than shaving every possible ounce from the tripod, particularly when working in wind or uneven desert terrain.
Headlamp
This is both photography gear and safety equipment.
I prefer a headlamp with a red-light mode, which makes it easier to preserve night vision while adjusting equipment or moving around the shooting location.
Remote Release or Intervalometer
A remote shutter release is convenient, particularly when capturing multiple exposures.
But it isn’t essential. Most modern cameras include a two-second timer and many have interval shooting built in.
Small Light Source
If I plan to illuminate foreground elements, I’ll carry a small adjustable LED light or use a headlamp.
Again, you don’t need much light.
Post-Processing the Final Image
Capturing the files in the field is only part of the process.
My current workflow generally begins in Adobe Lightroom Classic, where I’ll make initial adjustments to exposure, color, lens corrections and noise.
If the photograph involves separate foreground and sky exposures, focus stacking, panoramas or more complex blending, I’ll move those files into Photoshop.
This is where the pieces come together.
My goal isn’t to make the night sky look like daylight or push every bit of color available from the file. I want to retain the feeling of being outside beneath a genuinely dark sky while revealing detail the camera captured that our eyes may not immediately perceive.
That balance is subjective.
It’s also one of my favorite parts of the process.
What I’ve Learned From Photographing Big Bend at Night
I’ve returned to Big Bend since making the photographs that originally inspired this article, and each visit reinforces the same thing:
The best astrophotography usually begins long before you press the shutter.
Knowing the landscape matters. Scouting matters. Understanding the moon and the movement of the Milky Way matters. And patience matters.
It’s easy to become obsessed with camera settings, specialized equipment and increasingly complicated techniques. Those things can certainly improve image quality, but they can’t replace being in the right place when the landscape and sky come together.
Big Bend gives photographers an extraordinary canvas.
The Chisos Mountains, Rio Grande, desert plants, enormous horizons and exceptionally dark skies provide almost endless possibilities. The challenge is deciding what you want to say about the place rather than simply pointing the camera upward.
That’s what keeps bringing me back.
Photograph Big Bend With Me
If you’d rather experience all of this in the field, I’ll be returning to Big Bend National Park this November for a small-group Landscape & Astrophotography Workshop.
We’ll spend three days photographing the park from golden hour through the night sky, working through the entire process I’ve described here: scouting compositions, understanding the light, photographing the Milky Way and creating stronger landscape images in one of the darkest places in North America.
We’ll also spend time on post-processing so you can take what we’ve captured in the field and turn it into a finished photograph.
The workshop is timed around the new moon and limited to just five photographers, allowing plenty of individual instruction in the field.
- November 8–10, 2026
- Big Bend National Park, Texas
- Landscape + Astrophotography
- Small Group Experience